Just uploaded a quick tutorial on how to get started with your Arm Pro Mini using the mbed.com platform.
Category: Hardware
bookmark_borderSay hello to my little friend – Arm Pro Mini
Last couple of weeks I have been playing with this great board called “Arm Pro Mini” (name that came after the Arduino Pro Mini). This board is a small barebone open source ARM M0 Microcontroller that was designed to help makers take the bold move from the Arduino “world” to the next step into the feared ARM architecture.

Continue reading “Say hello to my little friend – Arm Pro Mini”
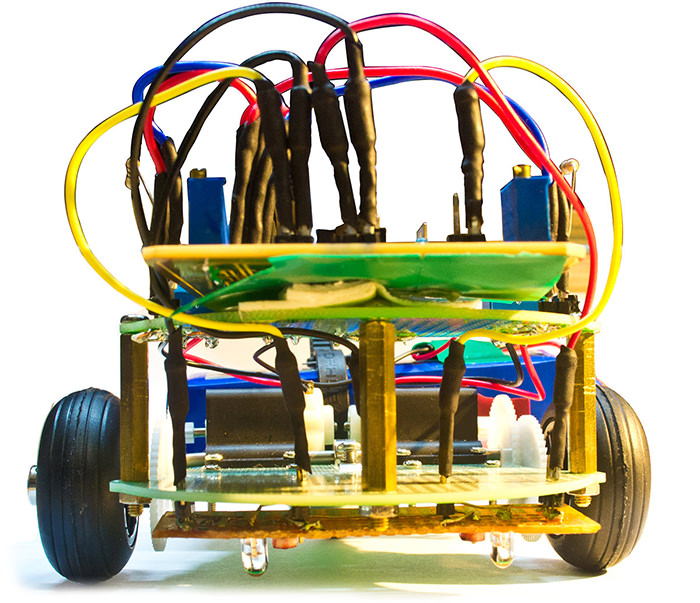
bookmark_borderLine Follower Robot with OpAmps
This is an old project that I found on my computer and decided to share with you guys. It’s that famous line following robot, made the simplest way possible, using only basic components such as LM358 OpAmp, LDR, Resistors and Transistors.
The LM358 comes with two Operational Amplifiers and I used it as comparator to make the robot stay on the right path.
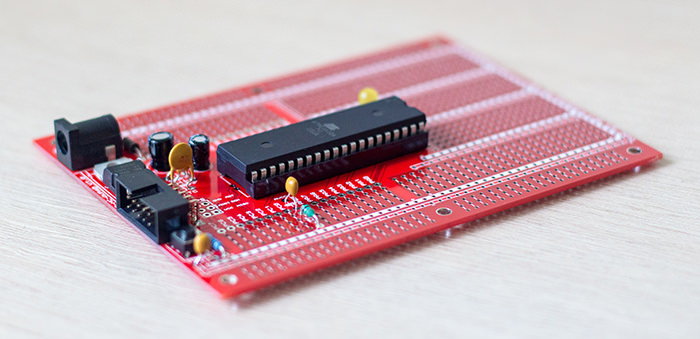
bookmark_borderProtoStack Atmega32A Dev Board
During the past few days I have been playing with ProtoStack’s Atmega32A Dev Board and have been very happy with it. Along with the Atmega(8/16/328) dev kit, so far it’s one of my favorite boards.
It comes with everything you need in order to have it going , the big IC-ATMEGA32A-PU µC, 10-pin connector (you can also use a 6-pin ICSP header), capacitors, resistors, voltage regulator for an external power supply and more… You can check the complete list and manual here.
If you are looking for an Atmega32A Dev Board, I would recommend this one for sure!
bookmark_borderRelational Space #1
This work presents an urban intervention using interactive technology. Located within a pedestrian and small vehicles tunnel below a busy road, that connects two parts of the Federal University of Santa Catarina Campus, the intervention creates a new relationship between tunnel and road. It operates as a displacement, transposing the sound of the traffic above to the pedestrians below. A sound sensor captures the sound of cars on the road and transmits a signal to the Arduino board, bringing a sense of chaos into the tunnel from above. The installation was developed as part of the discipline of Interactive Technologies and Creative Processes of the Architecture and Urbanism department at UFSC.
This is the final project from an architecture class project that I helped with.
Check out more @ Nimbu
bookmark_borderAD5204 Digital Potentiometer Breakout Board
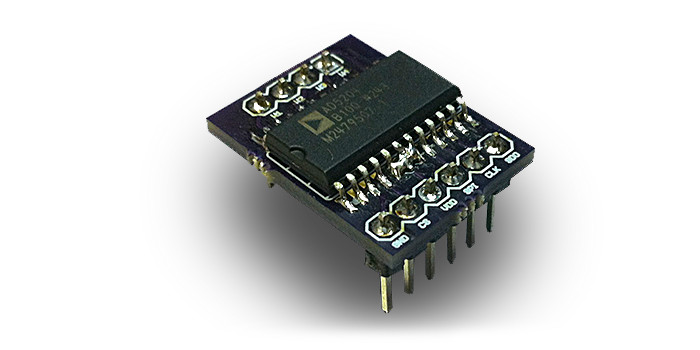
The AD5204 is a Digital Potentiometer with four internal 10kΩ, 50kΩ or 100kΩ potentiometers. It’s a 8 bits chip which means it has 2^8 = 256 steps from 0Ω to 100kΩ. It can be easily controlled by any microcontroller as it uses a Serial Peripheral Interface Bus (SPI).
I was working on a project where I needed to use some of those AD5204, so I developed a tiny breakout board in order to be able to prototype it using a SMD chip on the breadboard.
Now I’m sharing the Eagle Cad files, so whenever you need to use this chip, you can make some breakout boards with OSH PARK and use it with your projects.
Below you can find an Arduino code example along with useful links.
Hope this can be useful for you!
Any question just let me know!
Continue reading “AD5204 Digital Potentiometer Breakout Board”