Running a Helium Miner on DigitalOcean
Table of Contents

In this tutorial, we are going to configure a brand new DigitalOcean server that will run one or multiple Helium miners. Note that by using the link above, you will be rewarded with a $100 credit bonus that is valid for two months, which is perfect to test the platform and also two months of free miner hosting!
I am not going to get into details about what Helium is and how to use it, but it’s an amazing project where people all around the world are getting together to build a HUGE LoraWAN mesh network to enable anyone to have access to an almost-free IoT network. To check more, go to https://www.helium.com.
This tutorial video #
If this video helped you, please consider donating to:
- BuyMeACoffee - https://www.buymeacoffee.com/dspillere
- BTC - bc1qwn59fjhmz2wy376y6vltjj73a63j0nzaapu42f
- ETH - 0x2b4d4a660CddaE942C26821a5512c32023719476
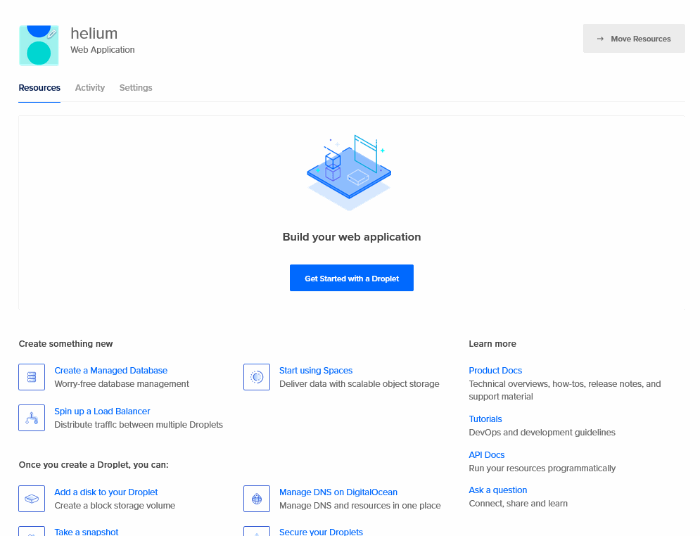
Create a new DigitalOcean Server #
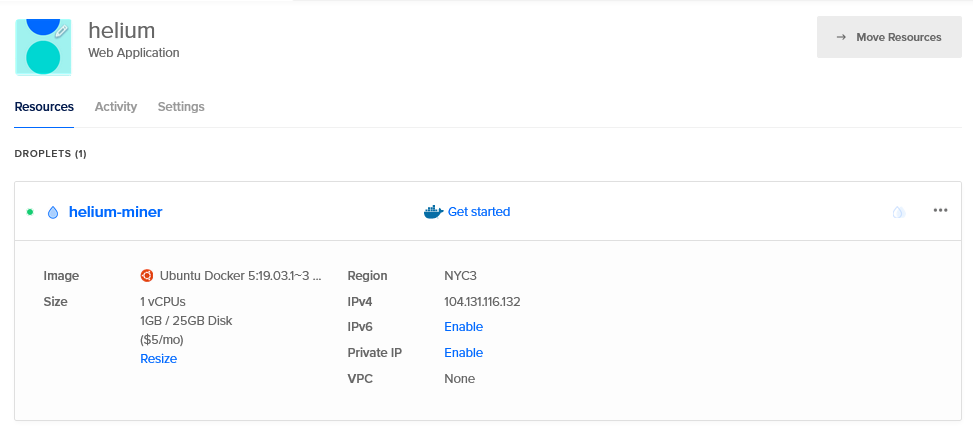
After creating your DigitalOcean account, log in, and create a new Droplet like the gif below:
Once your droplet has finished provisioning, you will be able to connect to it using the provided IPv4 address and the password that you used on the previous step. For this tutorial, the server IPv4 is 104.131.116.132, remember this as we will use it in many future steps.
Let’s connect to the server using the terminal. If you are on Mac you can use iTerm, and if you are on Windows, I recommend checking out the Windows Terminal. If you have any questions, just fill out the comment form with your questions and I will do the best to help you out!
To connect to the server, on the terminal, type ssh root@104.131.116.132 (change the IP to your own server address), type yes and the password.
If you see root@helium-miner:~#, this means that you are connected! Type apt update && apt upgrade to make sure we have all programs running on the latest version!
Good job, let’s move on to the next steps.
Let’s check if docker is working by typing docker ps:

Opening Ports #
From the helium miner documentation: Before launching the Miner, you will want to configure ports on your network to forward two ports:
- 44158/TCP: the Miner communicates to other Miners over this port. The networking logic knows how to get around a lack of forwarding here, but you will get better performance by forwarding the port.
- 1680/UDP: the radio connects to the Miner over this port. You will not be able to forward packets or participate in Proof of Coverage without this.
This means that for the miner, we need to open ports 44158/TCP and 1680/UDP, to do so, type ufw allow 44158/tcp and ufw allow 1680/udp.

Running your container #
It’s time to configure and install the miner. First of all, let’s create a folder where we will store all the miner files. On the terminal, type mkdir ~/miner_data to create an empty folder where all the miner data will reside.
Create a file caller runMiner.sh with nano runMiner.sh and type the following code block: