ProtoStack Atmega32A Dev Board
Table of Contents
Introduction #
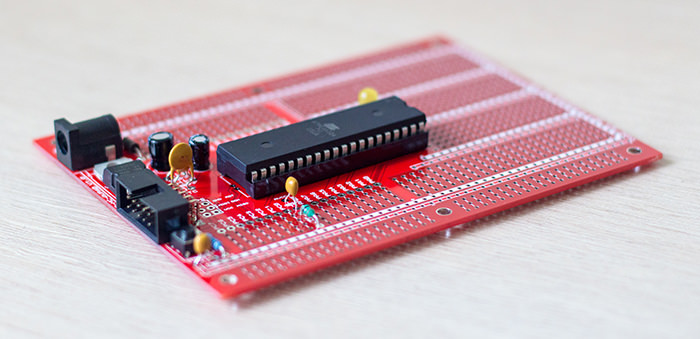
During the past few days I have been playing with ProtoStack’s Atmega32A Dev Board and have been very happy with it. Along with the Atmega(8/16/328) dev kit, so far it’s one of my favorite boards.
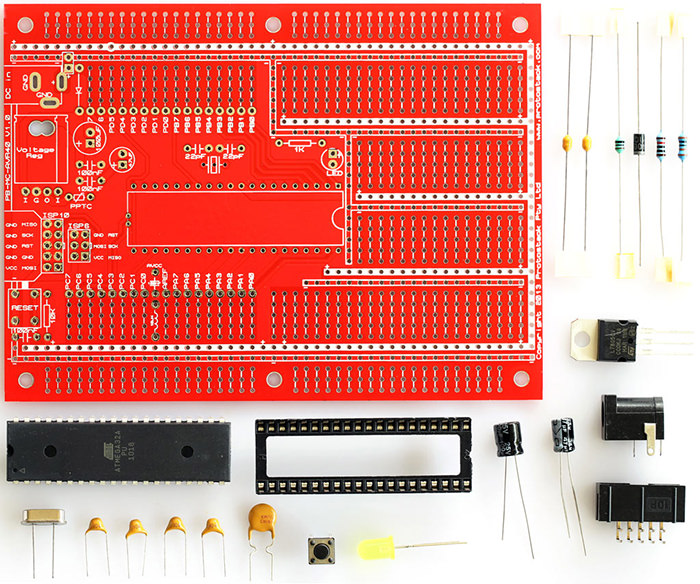
It comes with everything you need in order to have it going, the big IC-ATMEGA32A-PU µC, 10-pin connector (you can also use a 6-pin ICSP header), capacitors, resistors, voltage regulator for an external power supply and more… You can check the complete list and manual here.
If you are looking for an Atmega32A Dev Board, I would recommend this one for sure!
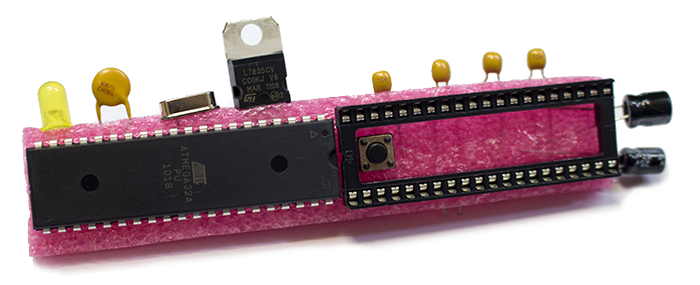
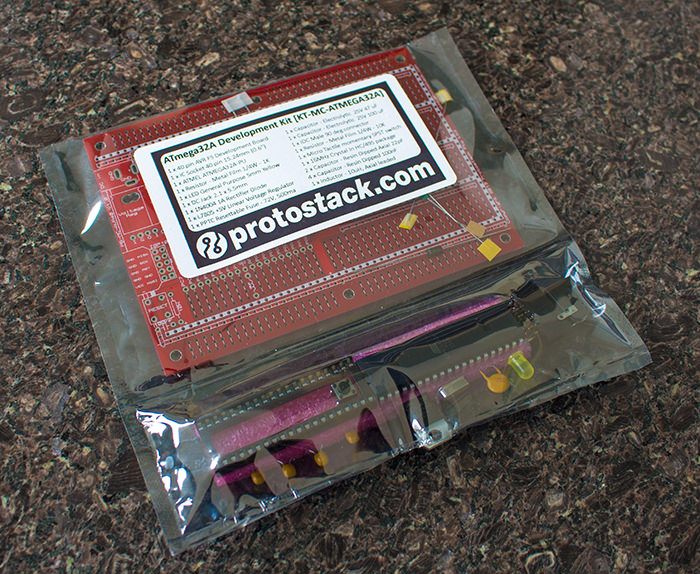
Some more pictures: #
Now go to ProtoStack’s website and check what those aussies have to offer.
Building our first program with the board, a Hello World #
Setting Atmega32 Fuses to use 16MHz external crystal: #
The microcontroller comes preconfigured to use its internal clock at 1MHz, so to use an external crystal with our Atmega32A we first need to make some changes on its fuses.
We will set the High Fuses as 0xC9 and the Low Fuses as 0xEE (PlayWithRobots has a good tutorial explaining on how you configure them).
Here I will be using a UsbTinyIsp to burn the fuses and record the code into my µC.