Building a Breathalyzer with MQ-3 and Arduino
Table of Contents
Introduction #
During the First Meeting of Electronic Arts in Florianópolis, we built a Breathalyzer using the Alcohol Gas Sensor MQ-3 and an Arduino Board to use on the last day of the meeting, during which we hosted a party. You can see a quick video two posts below. Recently, I received many emails asking for the code or how to make one, so I decided to build the sensor again, take pictures/videos, and make a tutorial showing how you can make one. So here it is.

Parts Needed #
- Arduino Board
- 10x 5mm LEDs (Green, Yellow, and Red)
- 100KΩ Potentiometer (to calibrate the sensor)
- 10x ≈ 220Ω Resistor (anything between 220Ω and 470Ω is OK)
- BreadBoard
- MQ-3 Sensor from Sparkfun
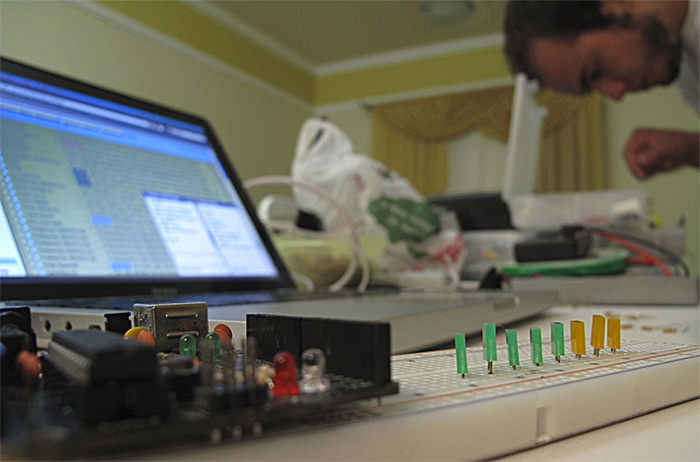
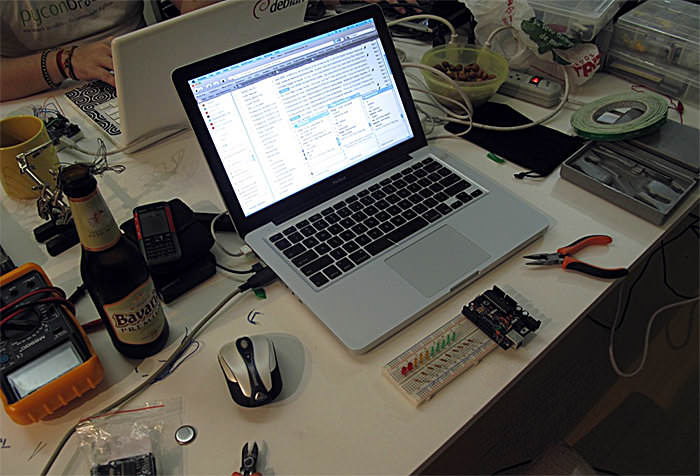
Building Process #
Here are some pictures from the building process:

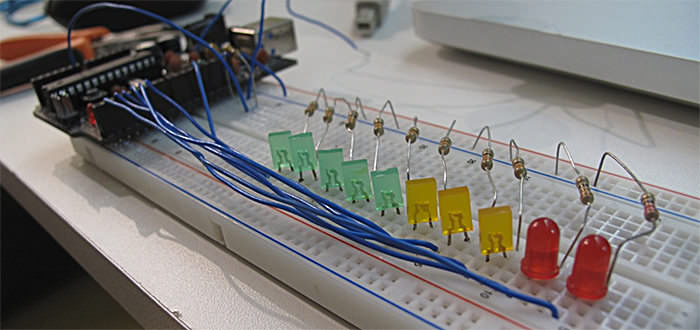
Connecting the LEDs #
To make the LEDs work, I have connected them in sequence using the Digital Pins 2 to 11 (ten LEDs total). Remember to use a resistor between 220Ω and 470Ω for each LED, as shown in the picture below:

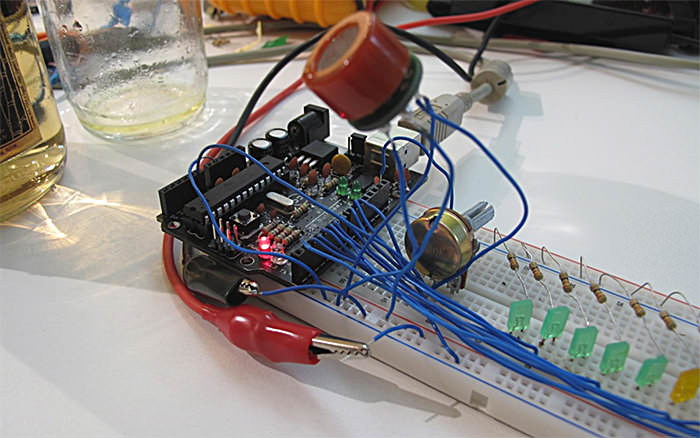
Connecting the Sensor #
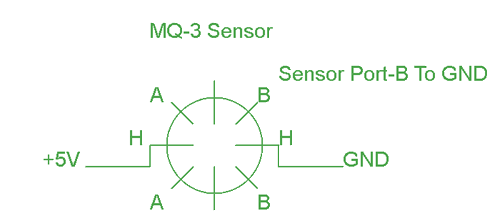
To connect the sensor, you have to connect one of the H pins to a +5V Supply (use an external power supply for that, as it may be too much current for the Arduino) and the other one to Ground.
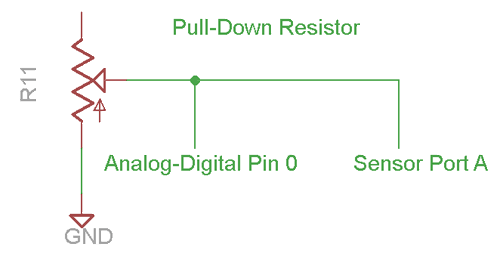
Connect Pin B (any of them) to Ground. Connect the A pin (also any of them) to the 100KΩ potentiometer as shown in the picture below. In the same pin where you are connecting the pin A, you need to connect a wire to the Analog/Digital Converter in Arduino, which is where you are going to read the Alcohol information.
Conclusion #
This is a quick and easy DIY project, but if you have any problem building it, please feel free to post questions!
You can DOWNLOAD the .PDE file HERE.
And now, have a great time drinking!
Remember, if you’re going to drive, don’t drink,
but if you do, call me!!