Ultrasonic Range Finder with Arduino
Table of Contents
Introduction #
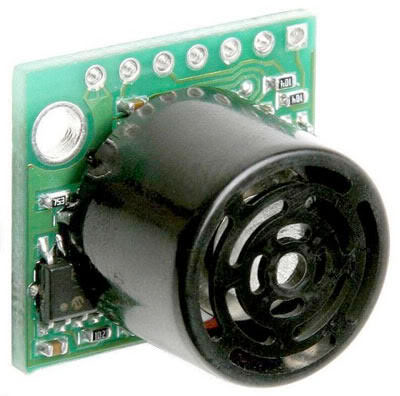
I recently got a Maxbotix LV-EZ4 Ultrasonic Range Finder Maxbotix LV-EZ4 Ultrasonic Range Finder to try to understand how to use it with my little Arduino Arduino. Having an ultrasonic range finder can be very useful in many different projects, as it can detect objects. I can use it to make alarm systems (cars usually use this kind of sensor), Obstacle-Avoiding Robot Obstacle-Avoiding Robot and many other things that you may have in mind. It works better outdoors than the IR sensor, but the only thing I could notice is that it doesn’t detect very well some thick carpets. Besides that, it’s a great sensor. From the datasheet, we can read that it sonar range information from 6-inches out to 254-inches (15.24 cm – 6.452m).
Maxbotix Features #
- 42kHz Ultrasonic sensor
- Operates from 2.5-5.5V
- Low 2mA supply current
- 20Hz reading rate
- RS232 Serial Output – 9600bps
- Analog Output – 10mV/inch
- PWM Output – 147uS/inch
- Small, lightweight module
Documentation #
How the Sonar Works #
It basically sends a high-frequency wave in one direction, the wave hits an object that reflects the wave. When the wave gets back to the sensor, it calculates the distance depending on the time it takes to go and back. More information can be checked at Wikipedia.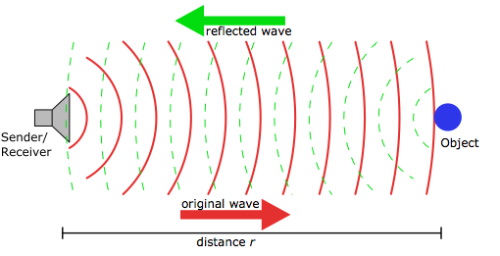
Working with Arduino #
I think the easiest way to work with the sensor is using the Analog Output Mode, where you just need to give the sensor some juice connecting with the 5V and Ground, and the Analog Output on any Analog-Digital Converter pin on the Arduino. Where it gives (Vcc/512) / inch where I am using 5V, so it’s 10mV/inch. But the AD from the Arduino has 1024 steps from 0-5V. So to have the information from the sensor in inches we need to make ADvalue/2 and if you want to have the information in cm, just multiply the previous value by 2.4 (1 inch = 2.4 cm).
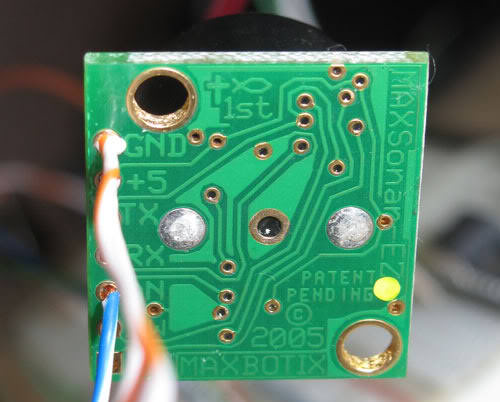
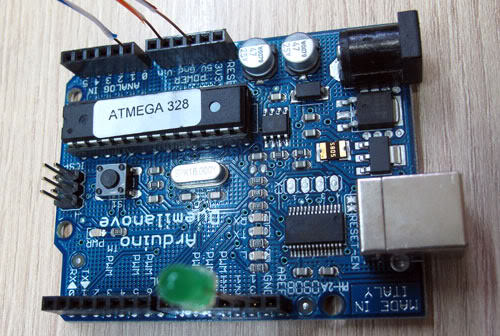
Pictures #