HowTo: Make Your Own Metronome
Hello there! It’s been a while that I don’t post any electronic HowTo. Since I started electric engineering my life have been quite busy, studying a lot, but some days ago I have made a simple project in which I created a metronome using some simple parts you can find in any electronic shop. And I decided to share with everyone this blog. So if you are interested, so let’s start!
Hmm, what is a Metronome?
A metronome is any device that produces a regulated audible and/or visual pulse, usually used to establish a steady beat, or tempo, measured in beats-per-minute (BPM) for the performance of musical compositions. It is an invaluable practice tool for musicians that goes back hundreds of years. Read more about metronome on Wikipedia
Material Needed:
Tools:
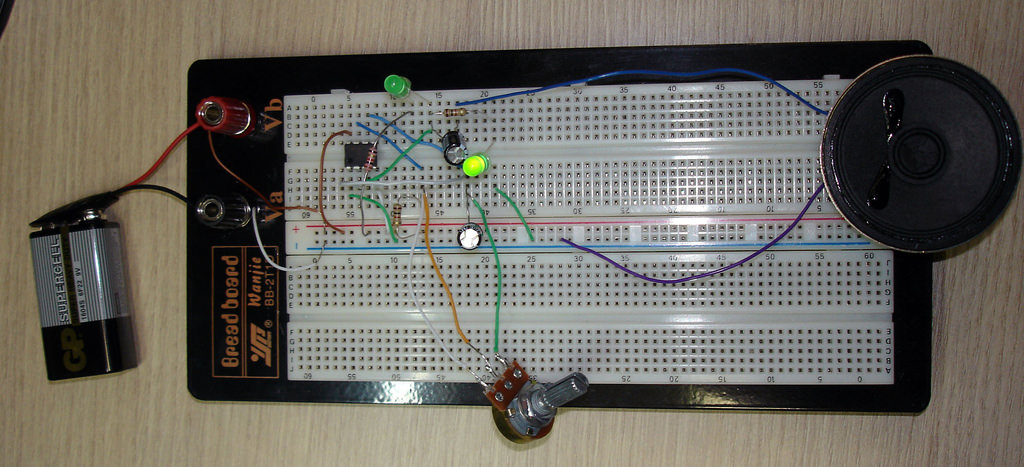
The tools depend in what way you want to assemble the parts. Right now my project is assembled in a BreadBoard. In some days I’ll but my metronome in a small board, and then it will be soldered using some TIN and a Soldering Iron. (If you want to know more about soldering, you can look HERE and HERE).
Now the scheme:
To build your metronome, you have to follow this scheme: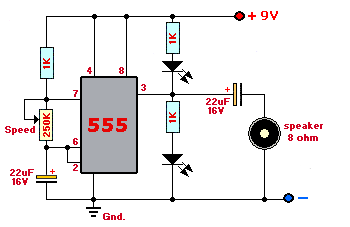
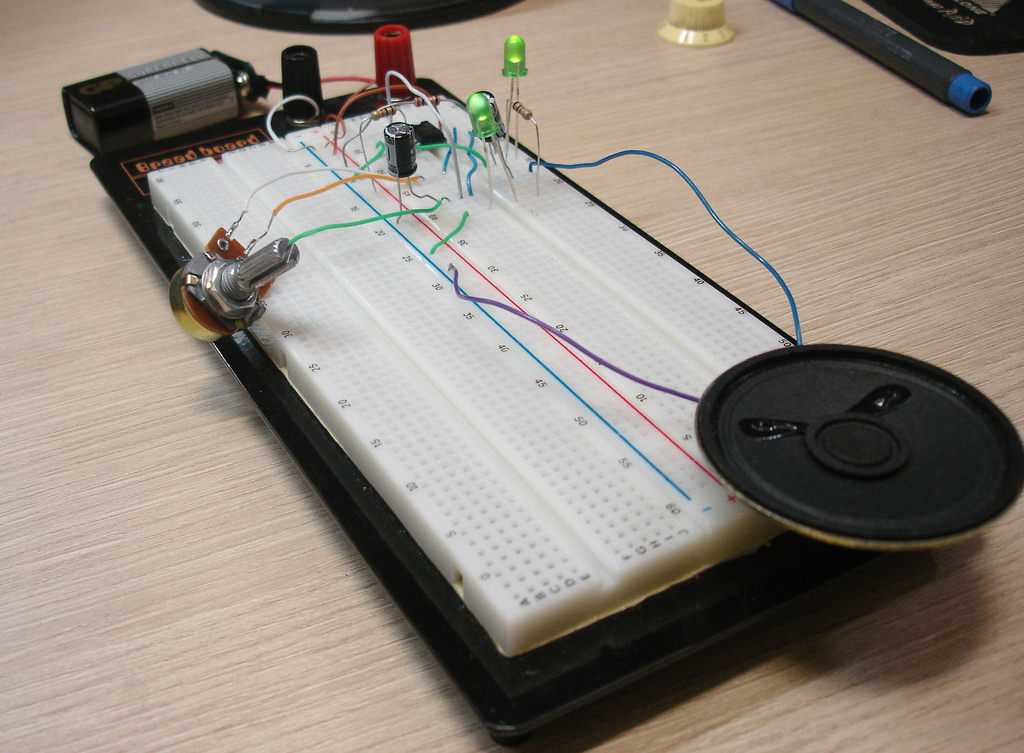
Pictures and Videos:
The circuit I made isn’t so beautiful right now, but it will be cute as soon as I assemble it in a read boar, then I will update this HowTo.
After you have all assembled, just turn on your circuit and you will see and hear the beats, where you can set different speeds by chancing the resistance from the 250K potentiometer. Now grab your guitar, or whatever you play and go practice with your new metronome. 😉
I hope you could understand my HowTo, if you have any question, just post a comment with the form below.
Thanks for readying!