HowTo: Using the scanner lamp inside your computer
I had a broken scanner around here, so I decided to do something with it. I decided to install the lamp inside my computer. And it worked! So I’ll try to explain what I did to make it work. I believe it’s different for different scanners, but you can try to figure it out for yours! 😉
What I got here, and what you’ll need:
- Lamp and reactor (that comes with the scanner), I used the TCE S440 model
- Cable, tin, soldering iron and basic materials
- Small box
The reactor:
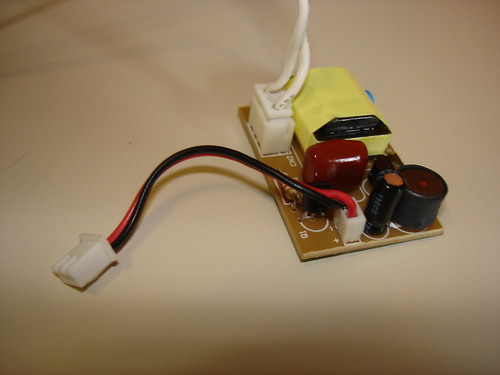
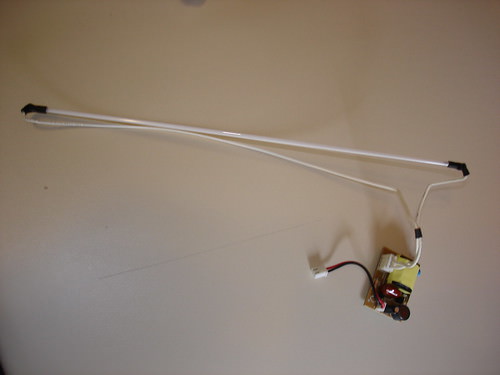
The reactor has two connectors, one to the lamp and other to the power supply. 12V.
There isn’t much work to do, basically what you have to do is to give a 12V supply to the red and black cables that connect to the reactor. (red is positive, black ground).
It’s good to buy a male molex to connect to your computer power supply, makes the work easier. I connected my Blinking LEDs in the same cable, so I didn’t need another molex.
You can install the lamp anyplace in your case, I decided to put it inside and in the front part, so the orange of my case would get more color.
More pics: In these pictures you can see it working:
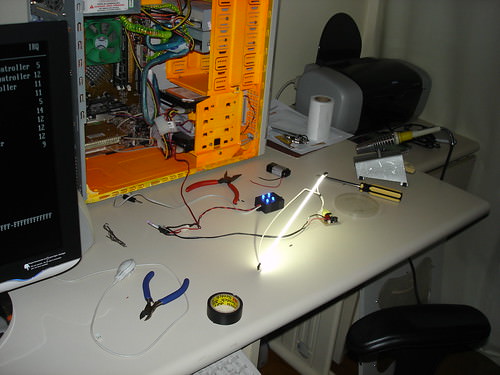
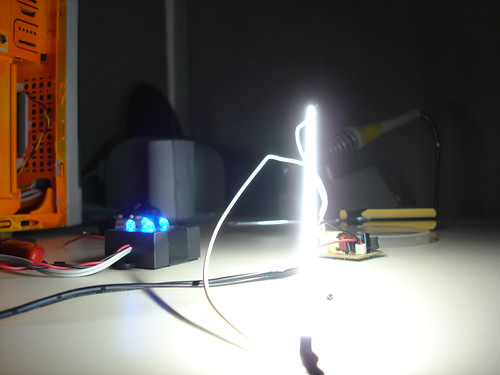
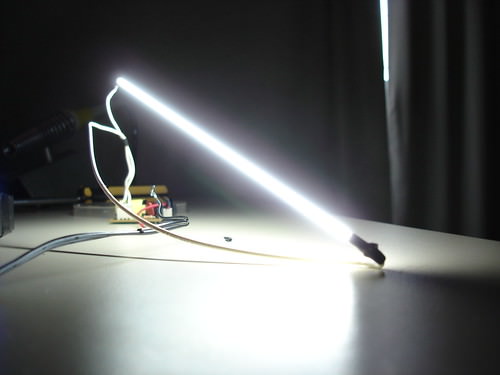
Testing…
Work complete!
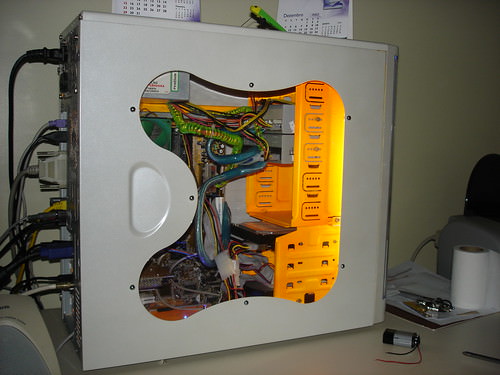
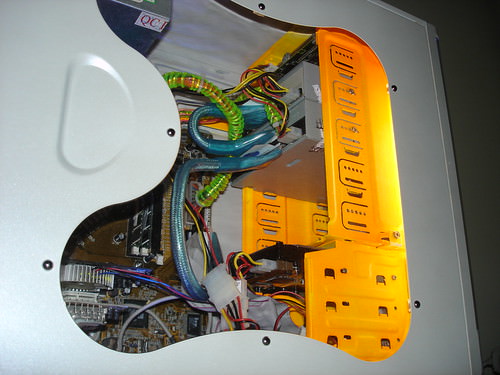
The only problem for me is that the light is TOO strong, so that you can’t see the blue. I’ll still see if I will let it on the computer, or maybe make a light for my room or something.
Hope you liked this HowTo and thanks for reading!