External Winamp Control
Building a 4-button serial port controller for hands-free music control
Table of Contents
Have you ever wanted to control Winamp without using your keyboard? While Winamp now has full keyboard shortcut support, there was a time when this wasn’t available. I wanted an easy way to change songs, especially during gaming sessions, so I created an external control panel using the serial port. This tutorial will show you how to build your own 4-button Winamp controller.
Materials Needed #
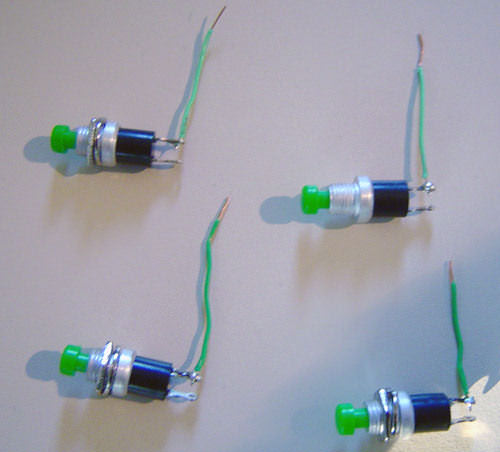
- 4 push-buttons
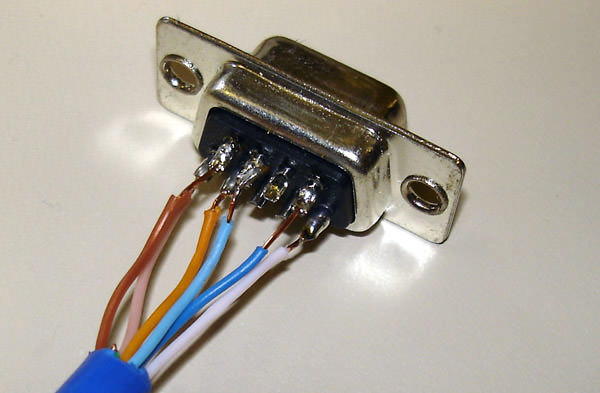
- Serial connector (DB9)
- Project enclosure box
- Cable (I recommend using a network cable for easier organization)

Tools Required #
- Soldering iron and soldering supplies
The Circuit #
Here’s the schematic showing how to wire everything together:
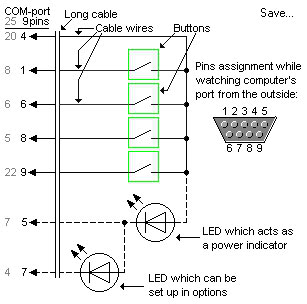
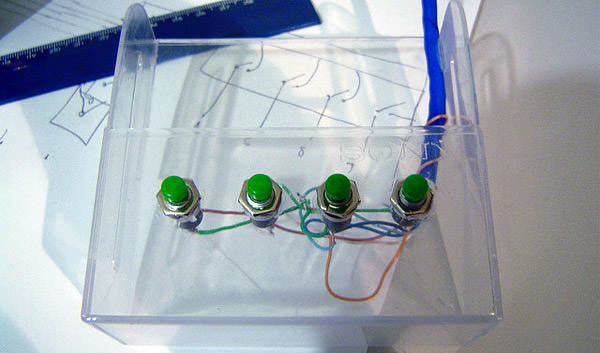
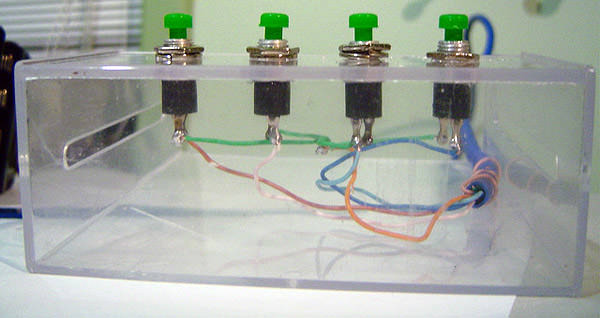
Assembly Instructions #
-
Following the schematic, connect one side of each button to a common wire that will connect to pin 4 on the serial connector.
-
Connect the other side of each button to their respective pins on the serial connector according to the schematic.
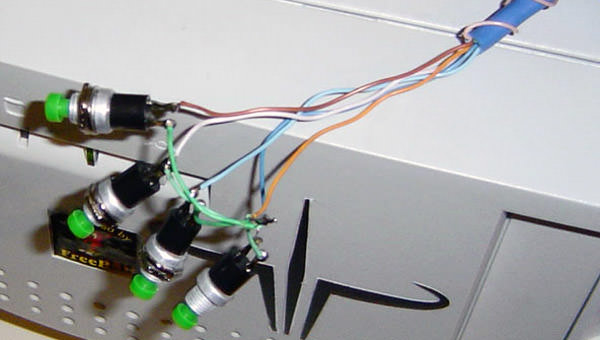
Here’s how it should look during assembly:
Software Configuration #
We’ll be using COM-port Winamp Control V.1.42 to interface with our controller.
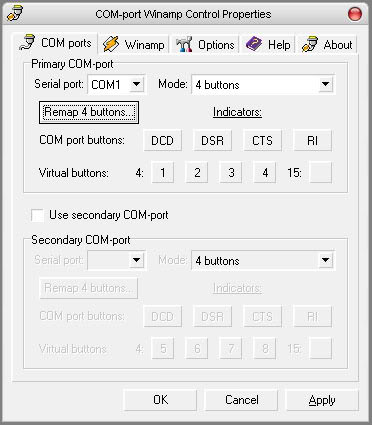
Setup Steps #
- Select your COM port (most computers have 2 ports - choose the one you’re using)
- Set the number of buttons to “4 buttons”
- Remap the buttons - if you can map all buttons successfully, your hardware is working correctly!
- Configure button actions in the “WINAMP” section. Options include:
- Volume Up/Down
- Next/Previous Track
- Play/Pause
- And more…
Button Response Types #
You can configure how each button responds:
- Click: Single or double-click activation
- Down/Up: Different actions for press and release
- Turbo: Hold-to-repeat (great for volume control)
- Clicks + Turbo: Combines click and hold-to-repeat functions
- Clicks + Hold: Combines click and hold functions
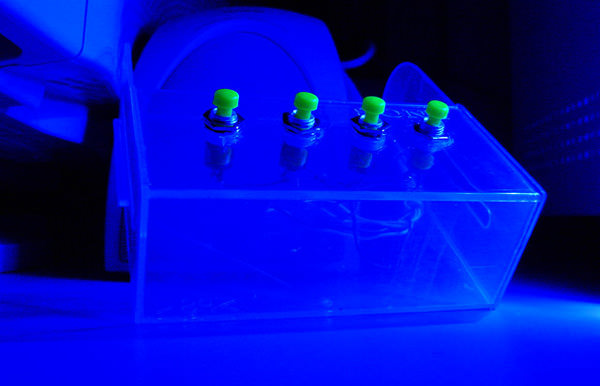
Final Result #
Here’s how my controller looks in its finished state, housed in a repurposed disk case:
I hope this guide was helpful! If you have any questions, suggestions, or improvements, please leave a comment below. 😊